Managing Long-Running Tasks on SaladCloud with 🐕 Kelpie
Managing long running tasks, such as molecular simulations, LoRA training, and LLM finetuning, presents unique challenges on SaladCloud, due primarily to the interruptible nature of nodes. At the core of all solutions to this problem are a job queue, and progress checkpoints. The job queue is responsible for distributing tasks to workers, and detecting when a worker has been interrupted. Workloads should save checkpoints of their progress and upload it to cloud storage, so that they can be resumed from the last checkpoint in the event of an interruption. Workers should also upload completed artifacts to cloud storage.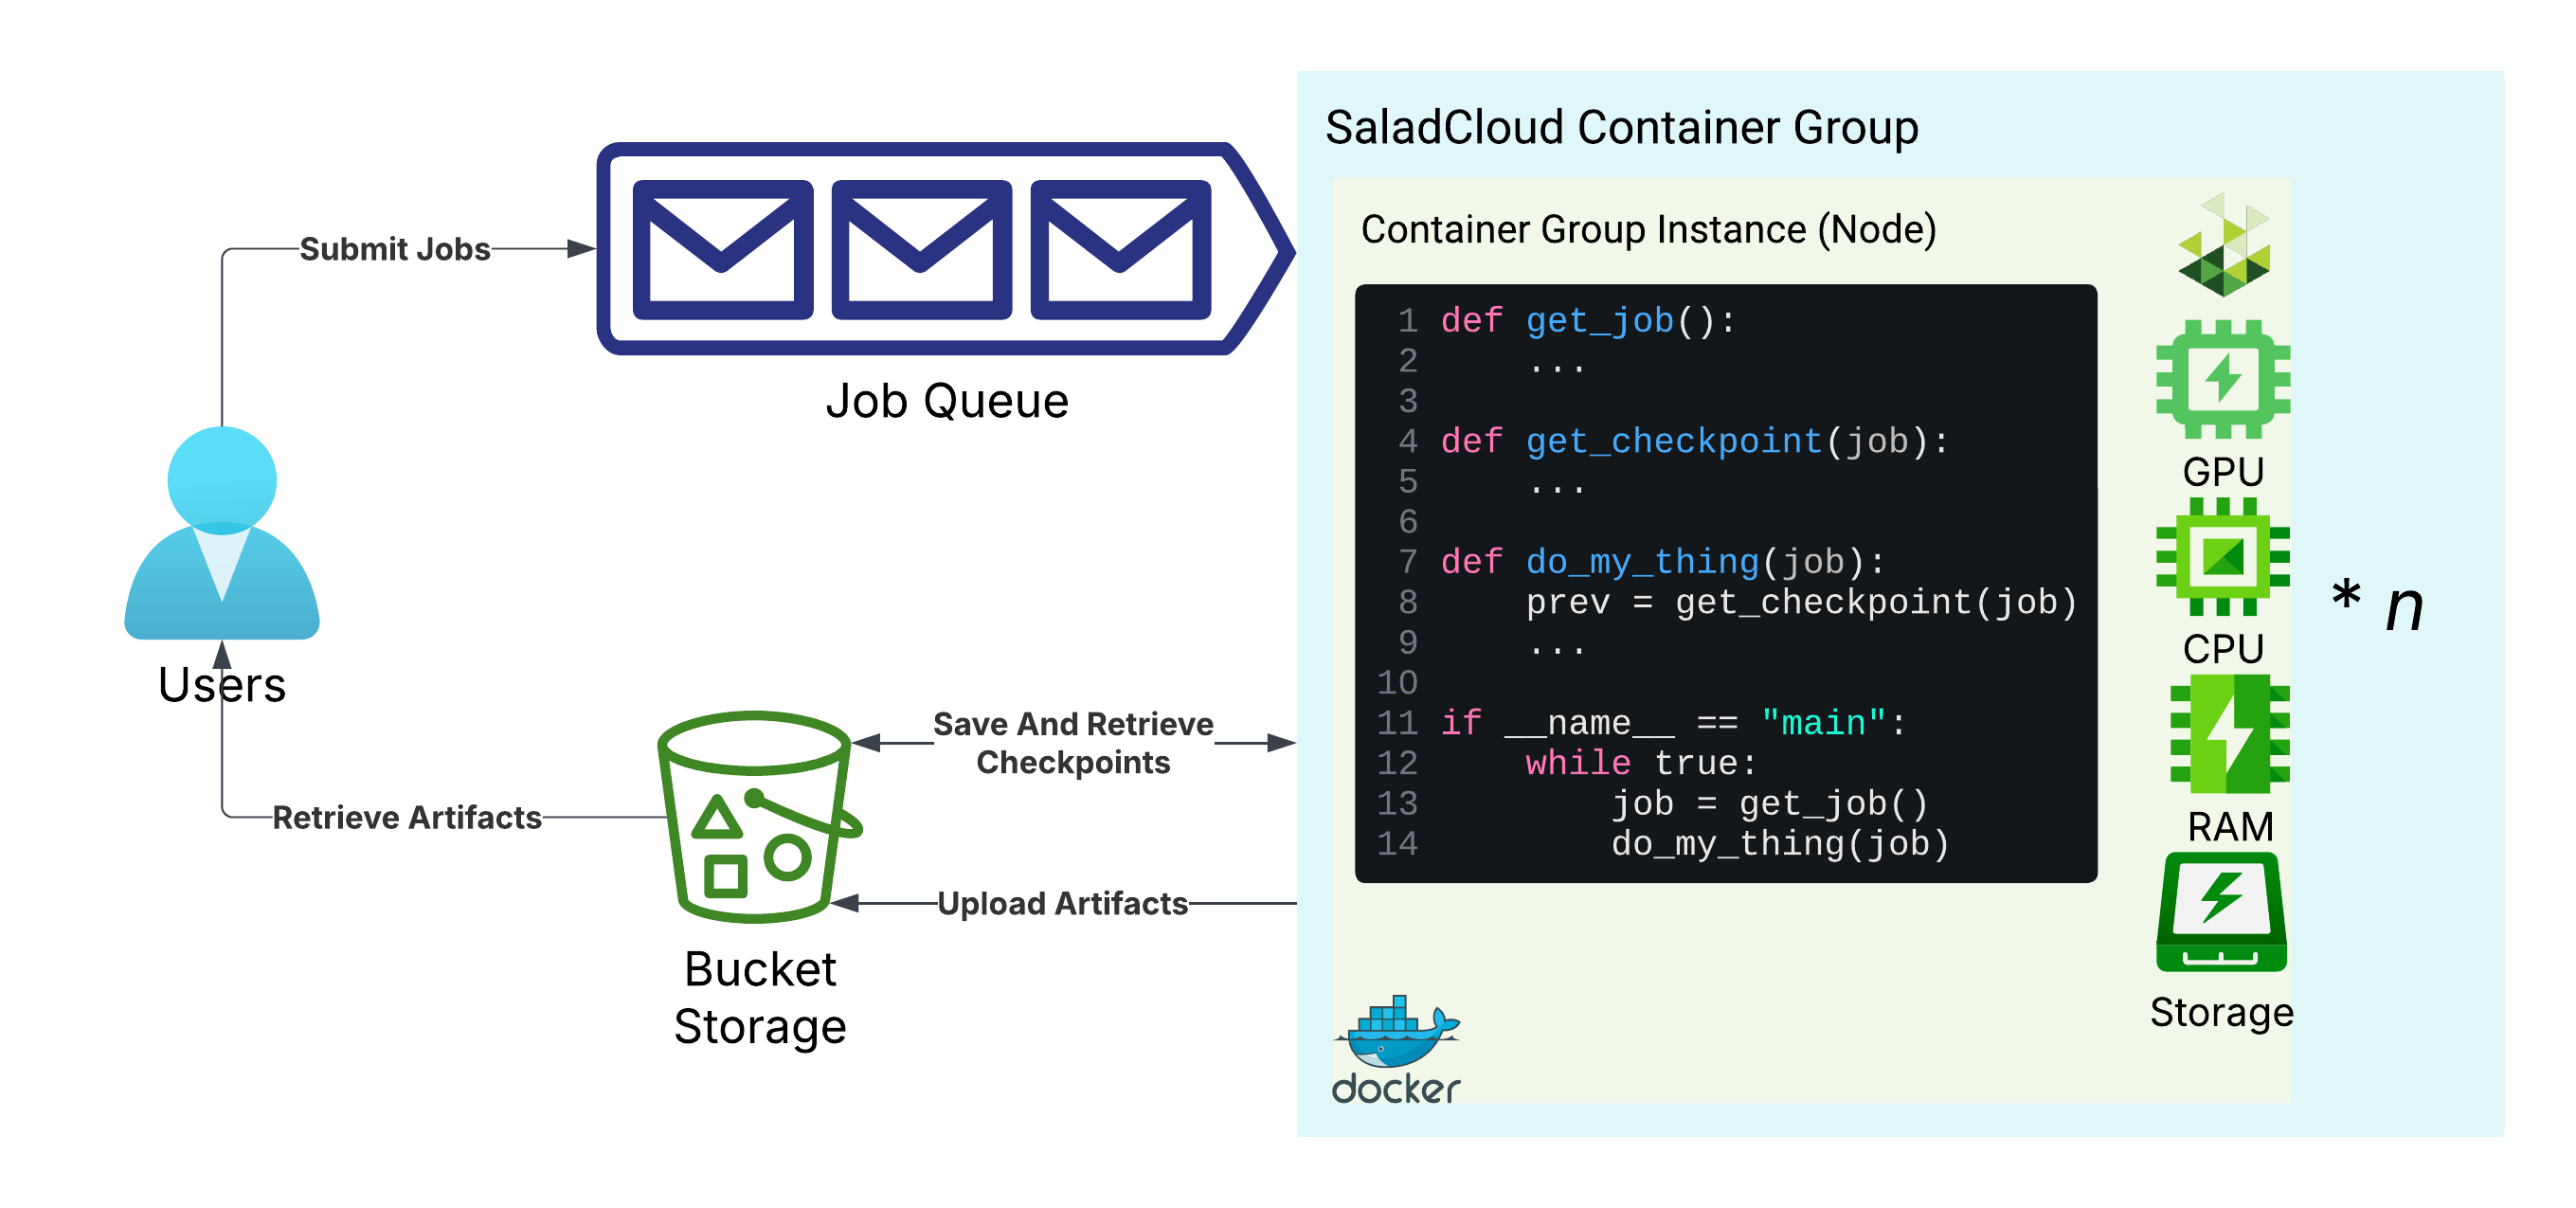
Basic architecture for long-running tasks on SaladCloud
The Job Queue: Kelpie
🐕 Kelpie is an open-source job queue that is particularly focused on the challenges of running extremely long tasks on interruptible hardware, and has been used in production for hundreds of thousands of hours of molecular dynamics simulations and AI model finetuning. It is designed to be simple to instrument, and to be able to integrate with any containerized workload. It executes scripts in a container according to a job definition, and optionally handles downloading input data, uploading output data, and syncing progress checkpoints to your s3-compatible storage. It also provides a mechanism for scaling your container group in response to job volume. It has deep integrations with SaladCloud that are very convenient for our purposes. It has no cost to use on SaladCloud. You can use your Salad API key to authenticate with Kelpie, which will allow you to submit and manage jobs. Kelpie can authenticate automatically from a SaladCloud node. Kelpie uses the Salad container group ID as a queue name, which can be retrieved with the Get Container Group Endpoint. You can explore the full API with the Swagger UI.Cloud Storage: R2
R2 is a cloud storage service from Cloudflare that is compatible with the S3 API. It is a great choice for SaladCloud workloads because it does not charge egress fees, and SaladCloud’s distributed nodes are mostly not in datacenters, and therefore may incur egress fees from other providers. From the R2 console, navigate to “R2 Object Storage”, and click “Create Bucket”.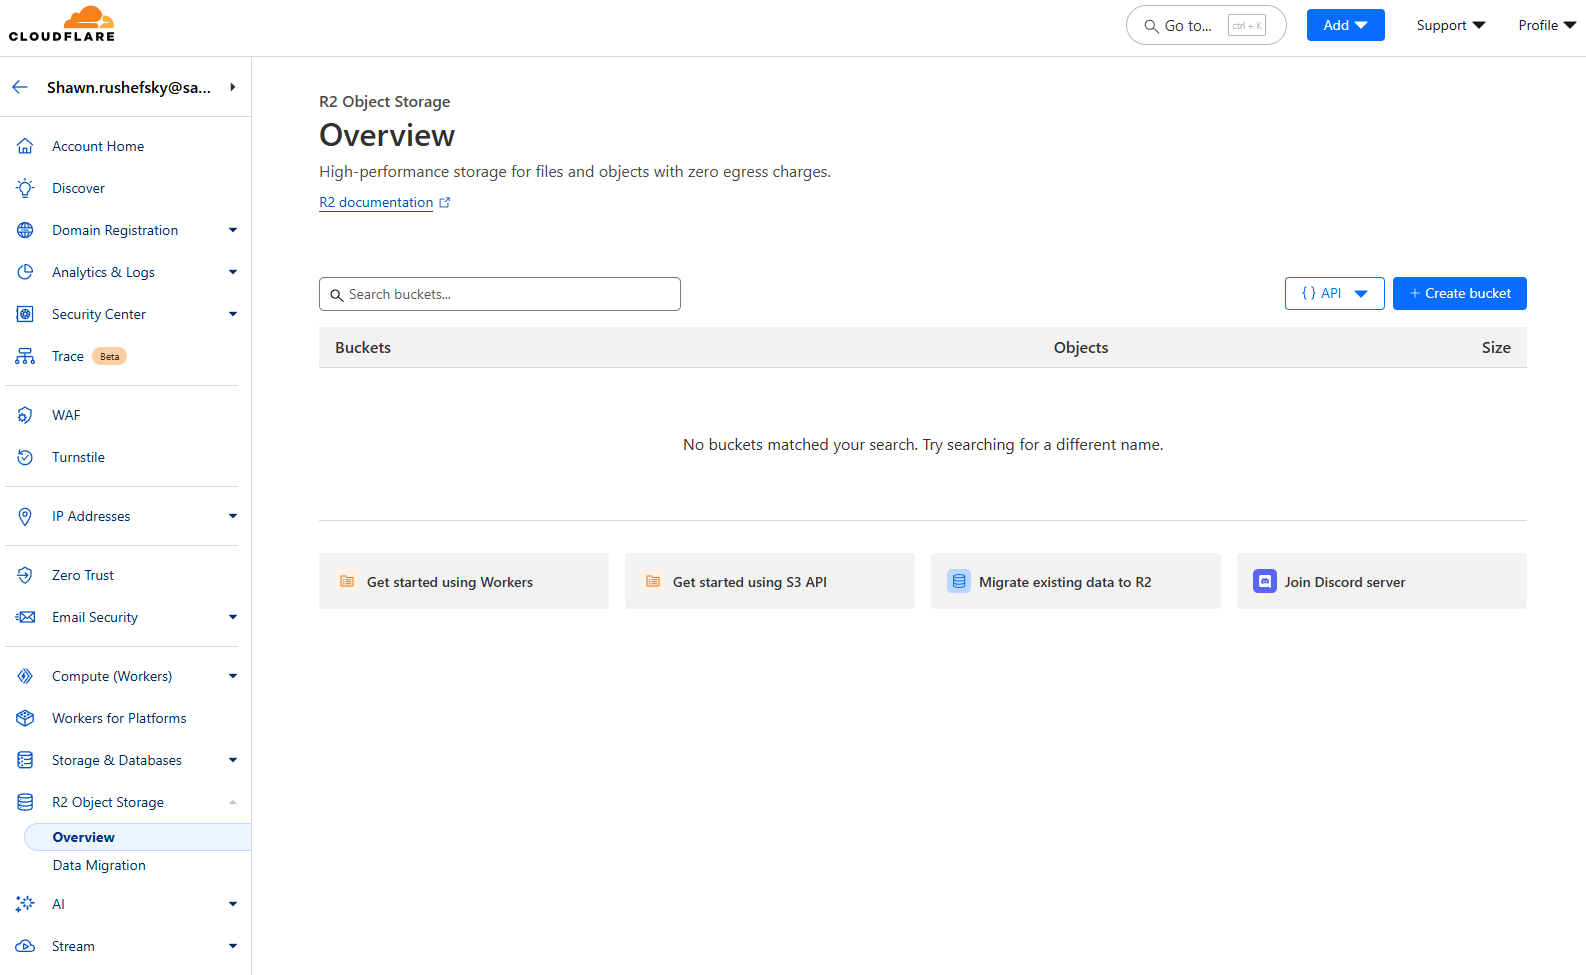
The R2 Object Storage Console
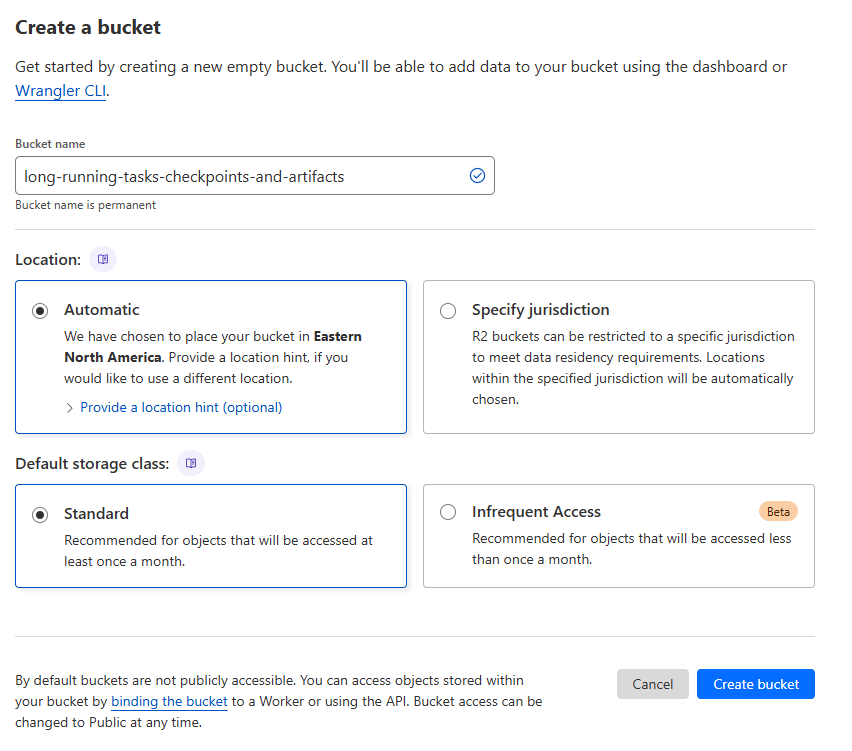
Creating a new bucket
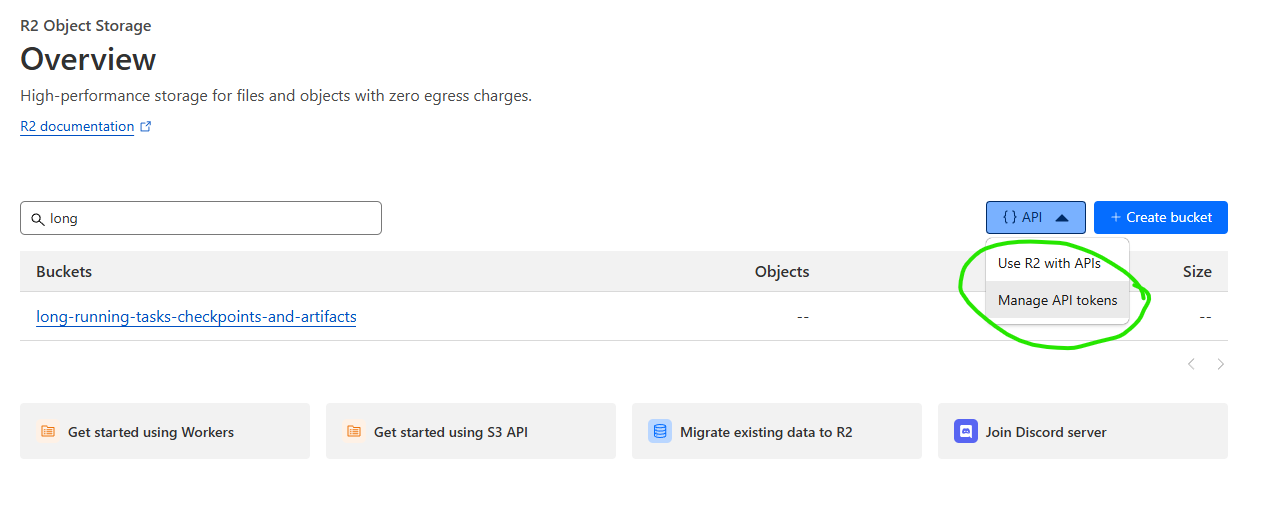
You still need an API token to access your bucket
Instrumenting Our Application
Using Kelpie just requires adding the Kelpie worker binary to your container, and setting it to run as the command in your Dockerfile. The worker binary will read the job queue, and execute the job script with the provided arguments. TheCode
Our actual application code can be very simple:Dockerfile
Building and Testing the Worker
Now, build the docker image, and use a tag that makes sense for you.uuidgen command on Linux or macOS, or
use an online UUID generator. Do this again to simulate a machine ID.
worker.env with the following contents, replacing <your_api_key> with your Salad API key and
<container_group_id> with the UUID you generated above. Some of these will not be required in production, as they can
be derived automatically from the SaladCloud node, but we will set them explicitly for local testing.
Submitting Jobs to the Queue
Now we need to populate the queue with jobs. First, we’ll define some environment variables in a new filesubmitter.env.
submitter.env, and I’m going to source them into my environment with the following
command:
Deploying the Worker to SaladCloud
To deploy our worker to SaladCloud, we need to create a new Container Group. This can be done via the API, SDKs, or the Portal. We’re going to use the Portal. We’re going to create a new Container Group, and we’re going to use the image we just pushed to Docker Hub. We’re going to request 100 replicas (the max via the portal), and we’re going to set most, but not all, of our environment variables fromworker.env.
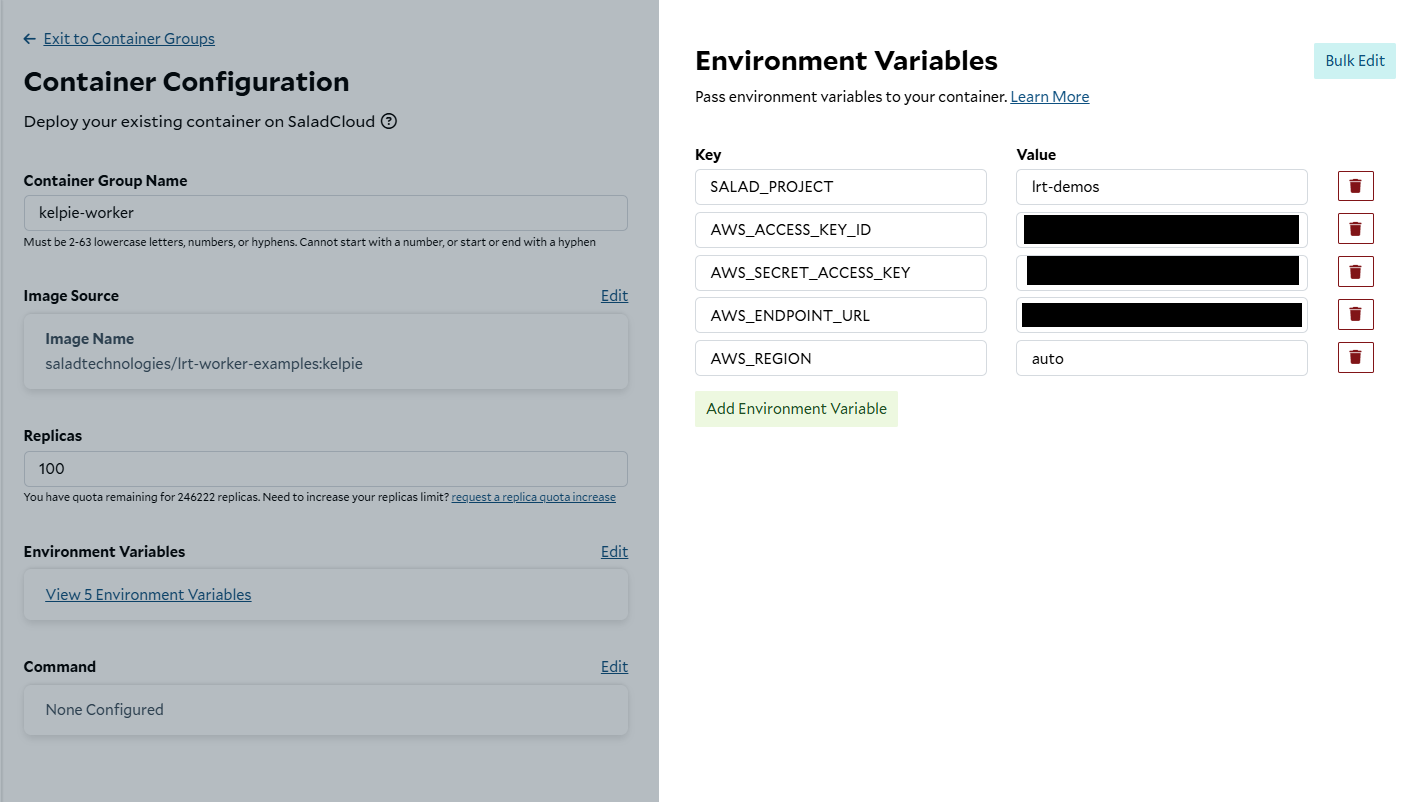
Creating a new Container Group
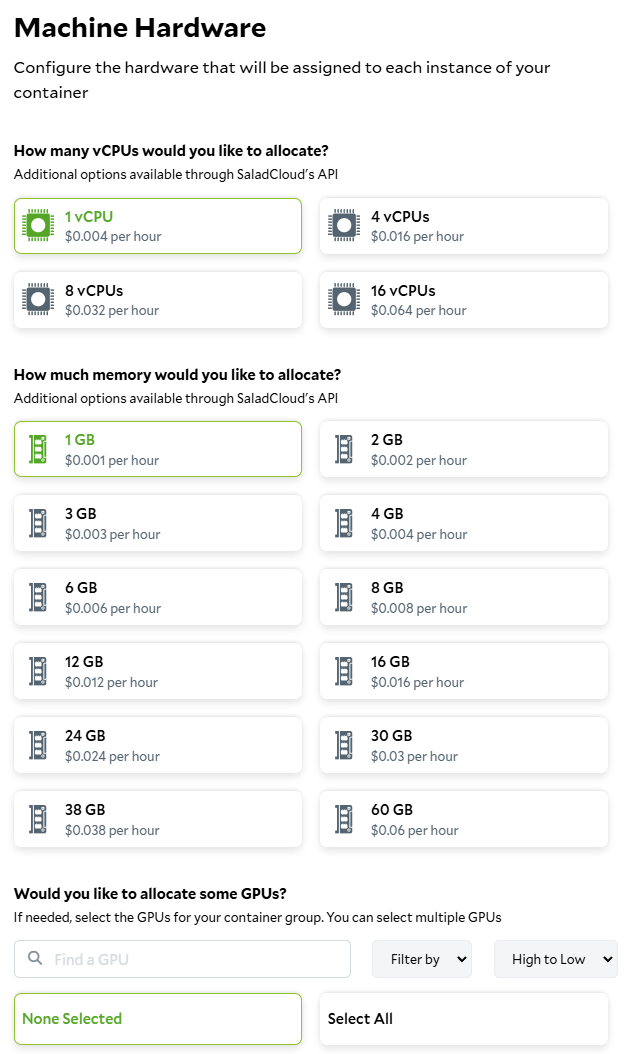
Setting the hardware requirements
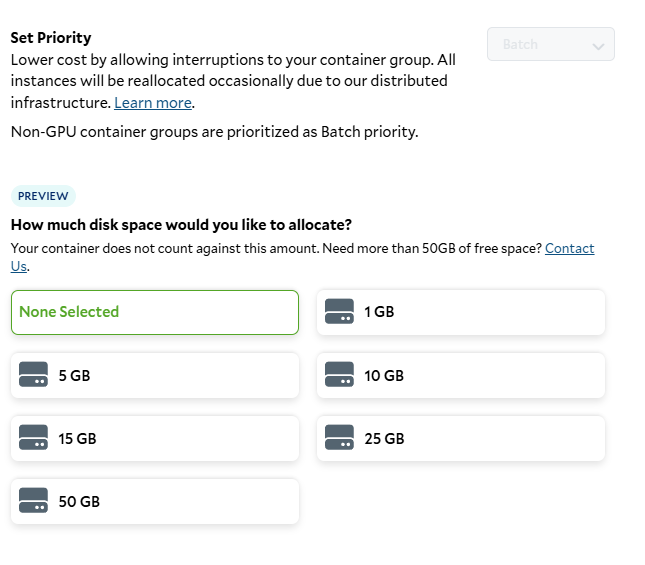
Setting the job priority and storage requirements
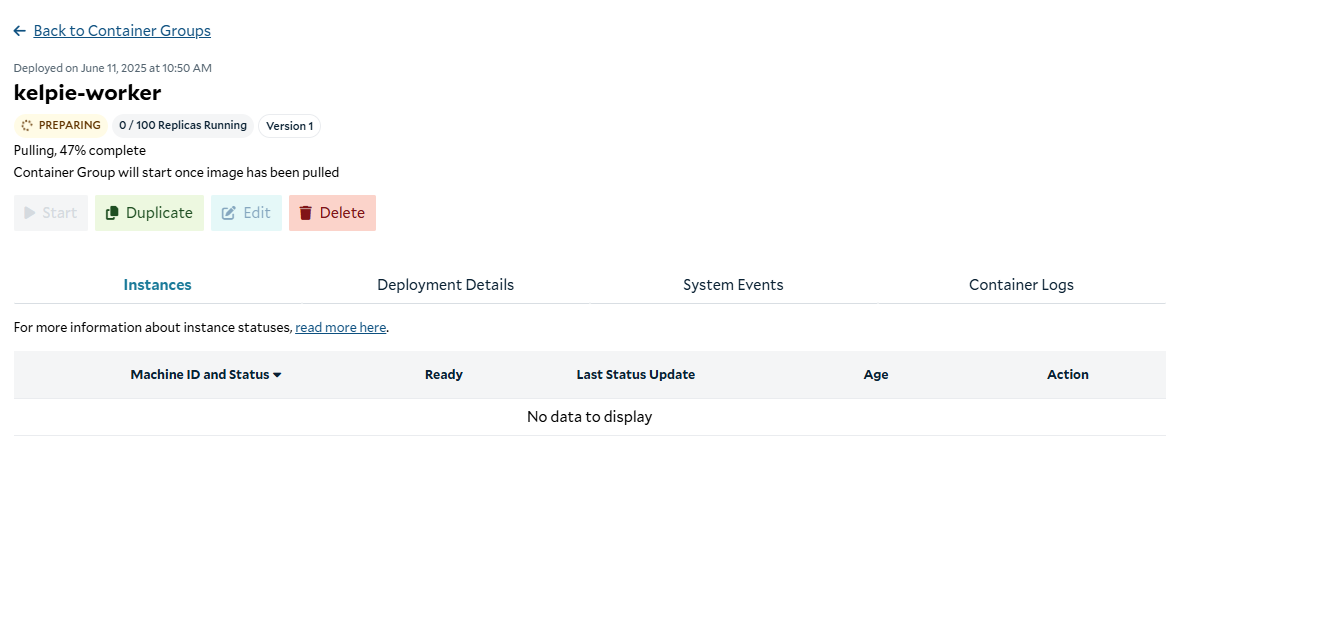
Preparing the container
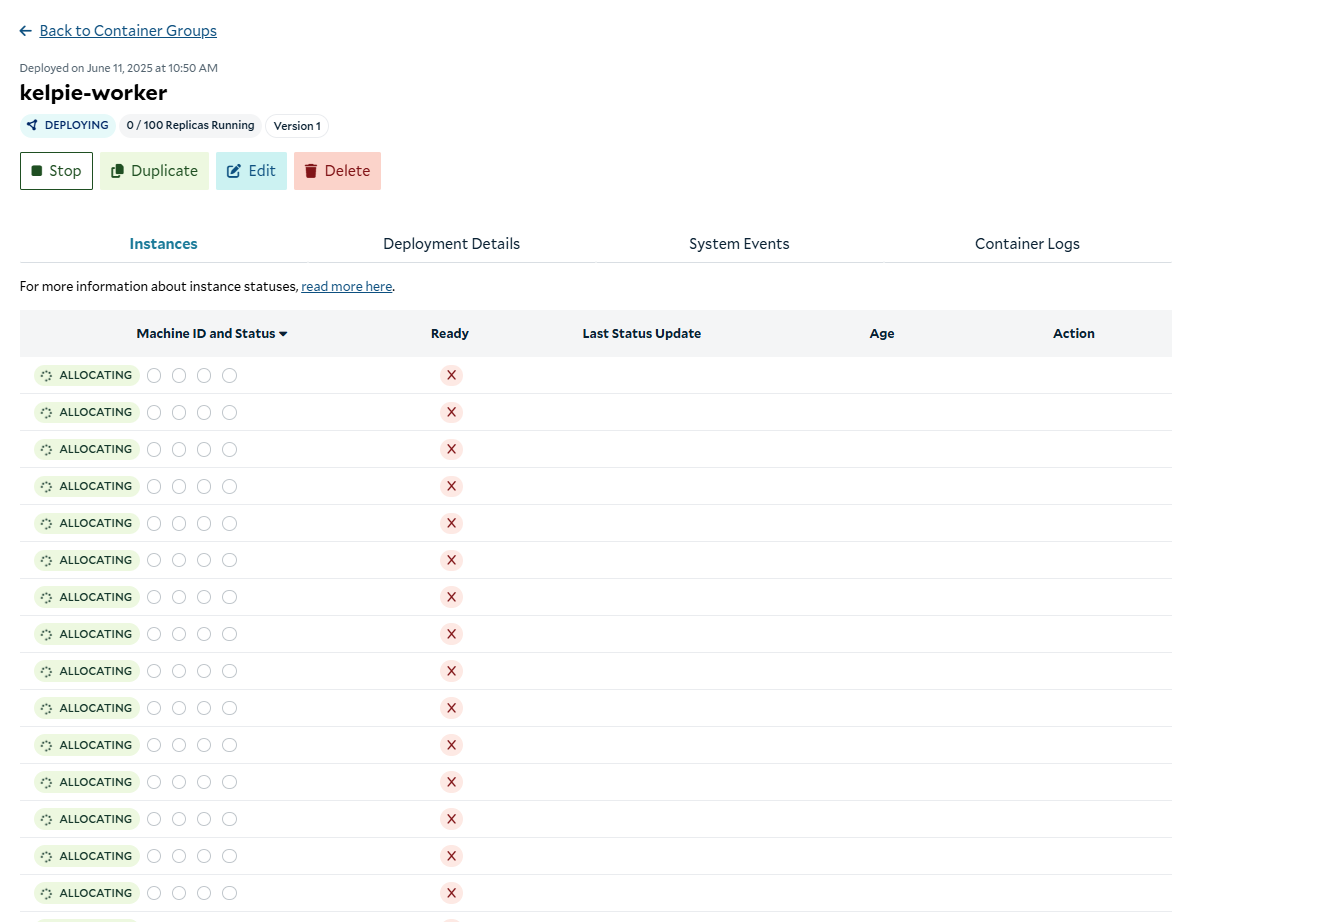
Allocating replicas
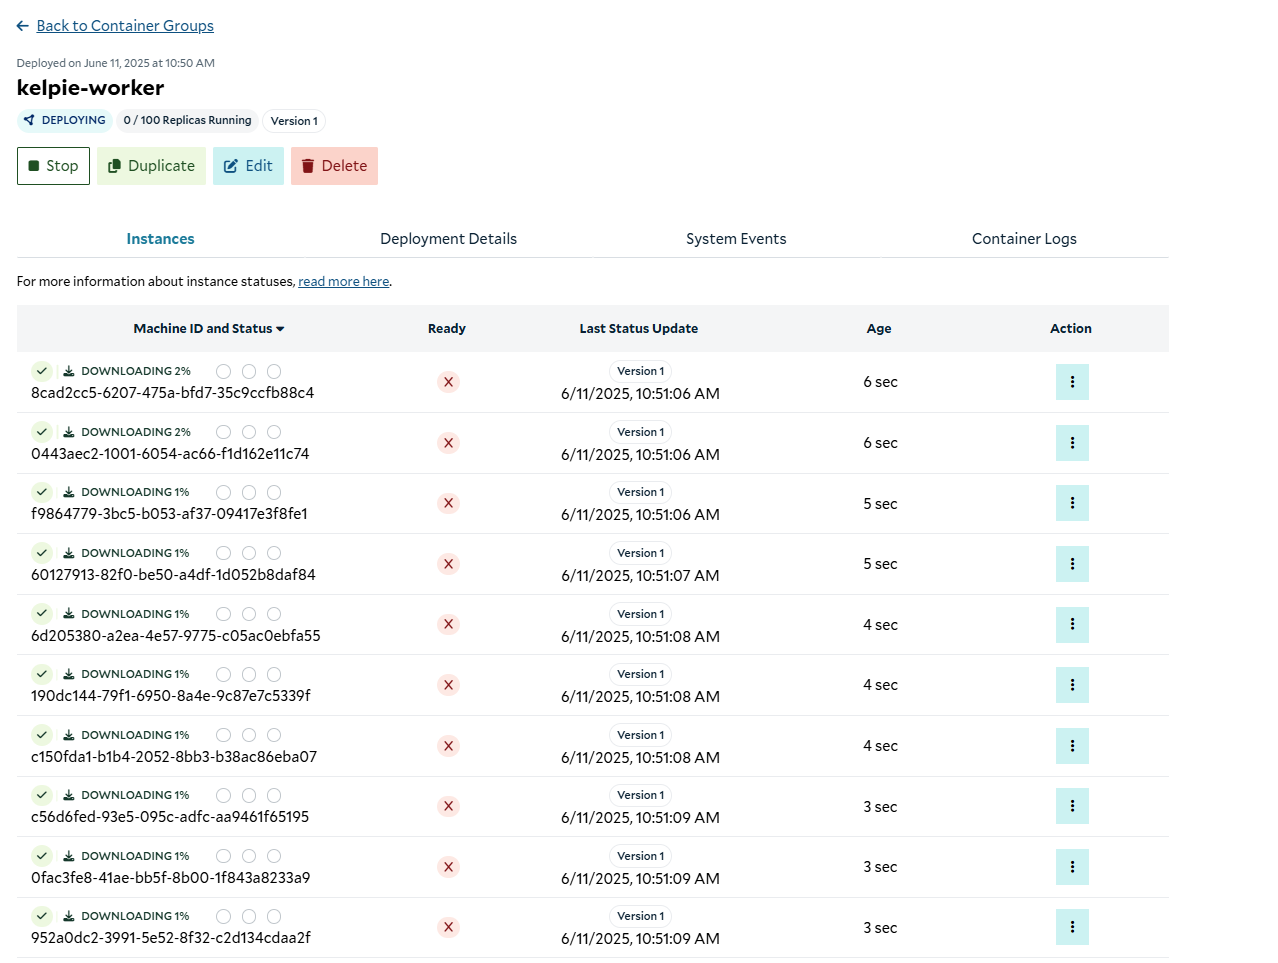
Downloading the images to the replicas
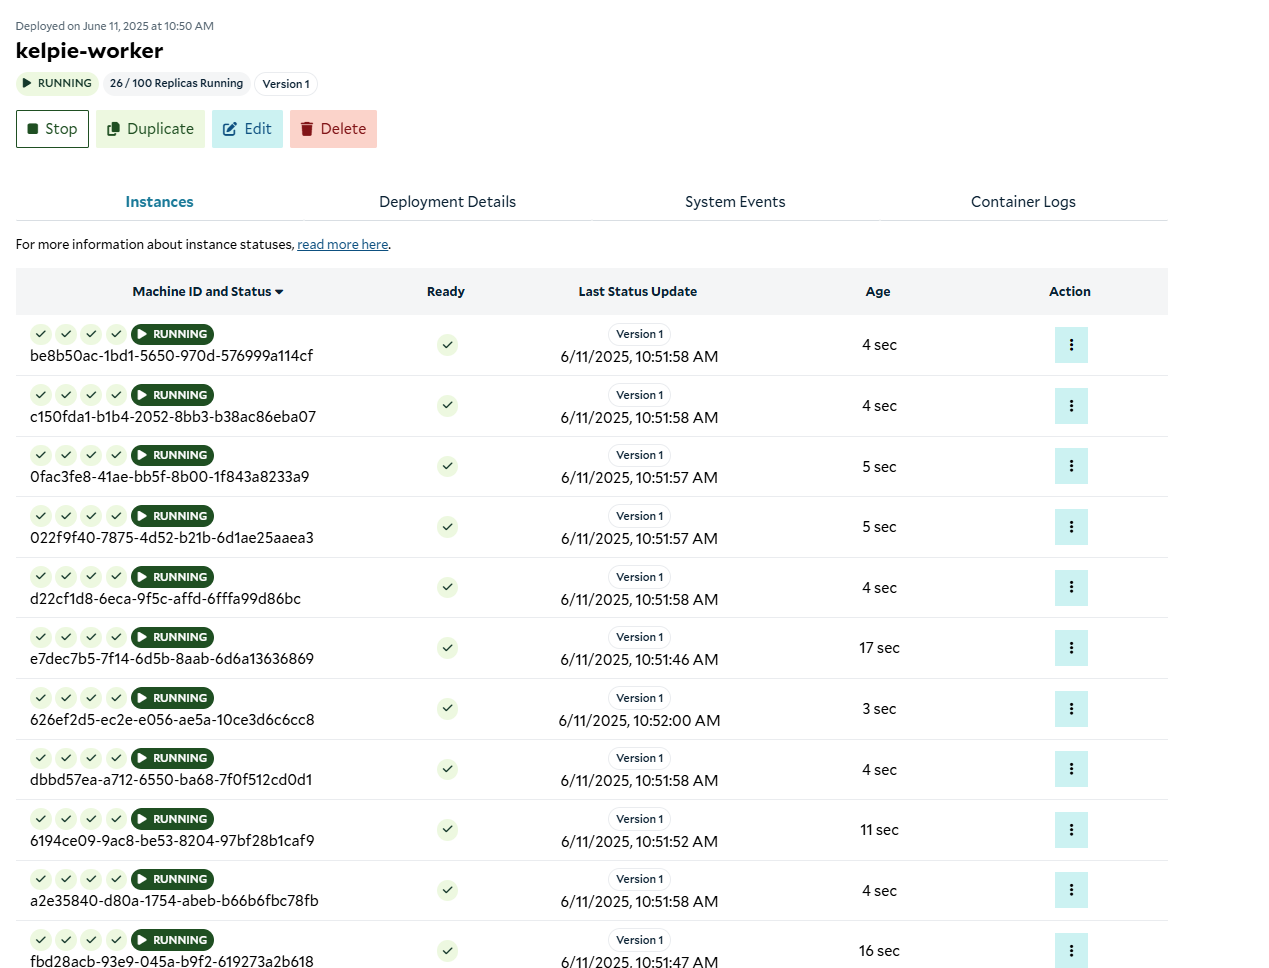
Instances up and running
Validating That It Works
Now that our cluster is up and running, we need to retrieve the container group id from the Get Container Group Endpoint and set it in oursubmitter.env variables, and then run our job submitter script to submit jobs to the queue.
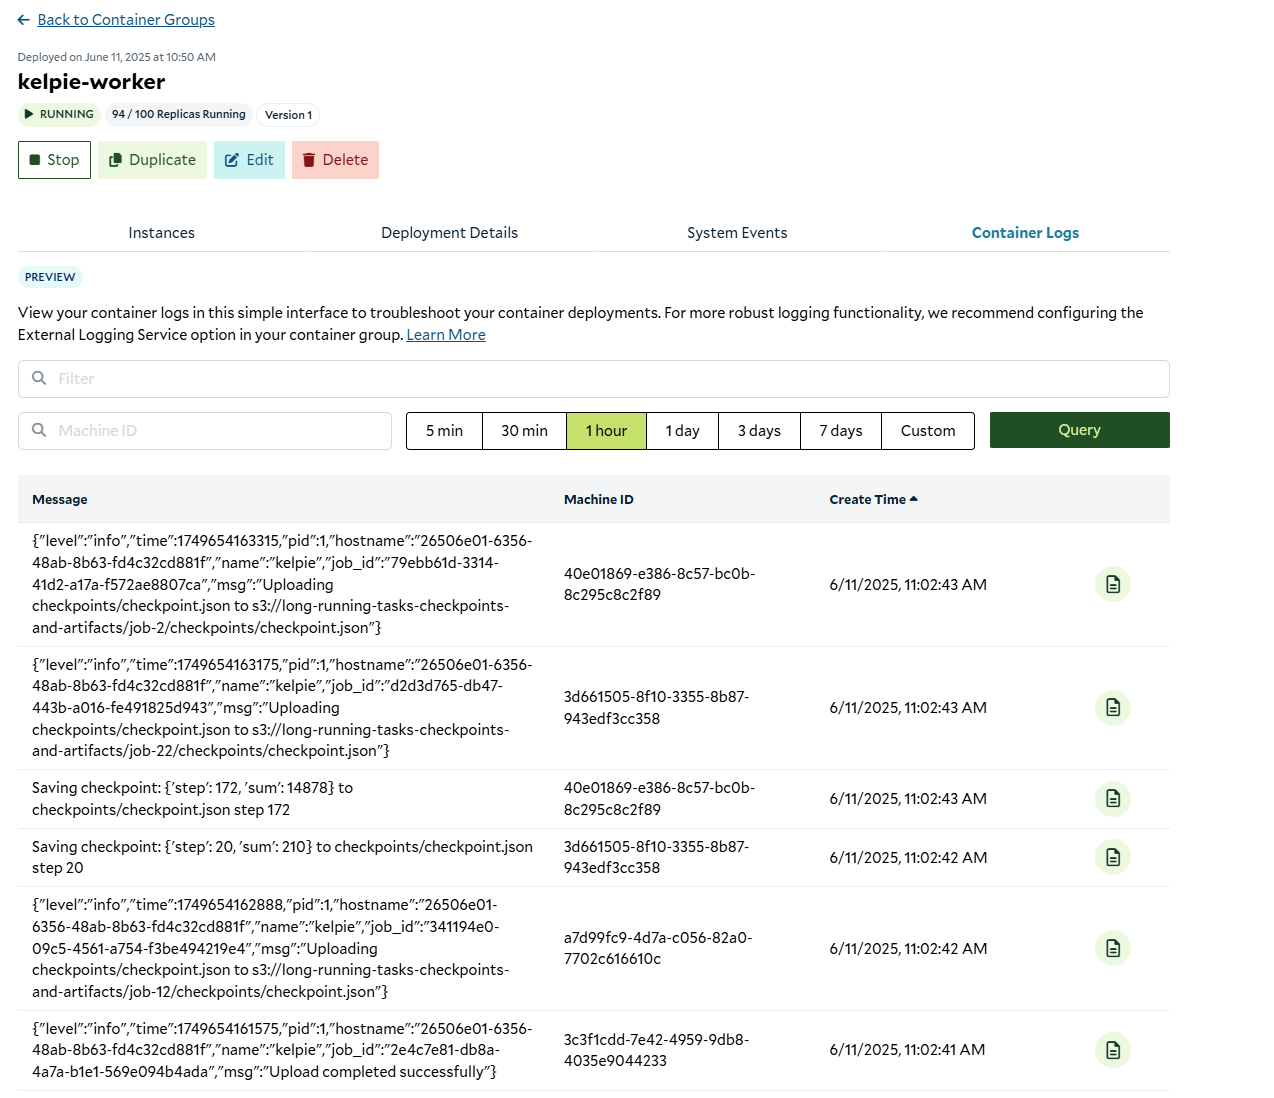
Kelpie worker hard at work
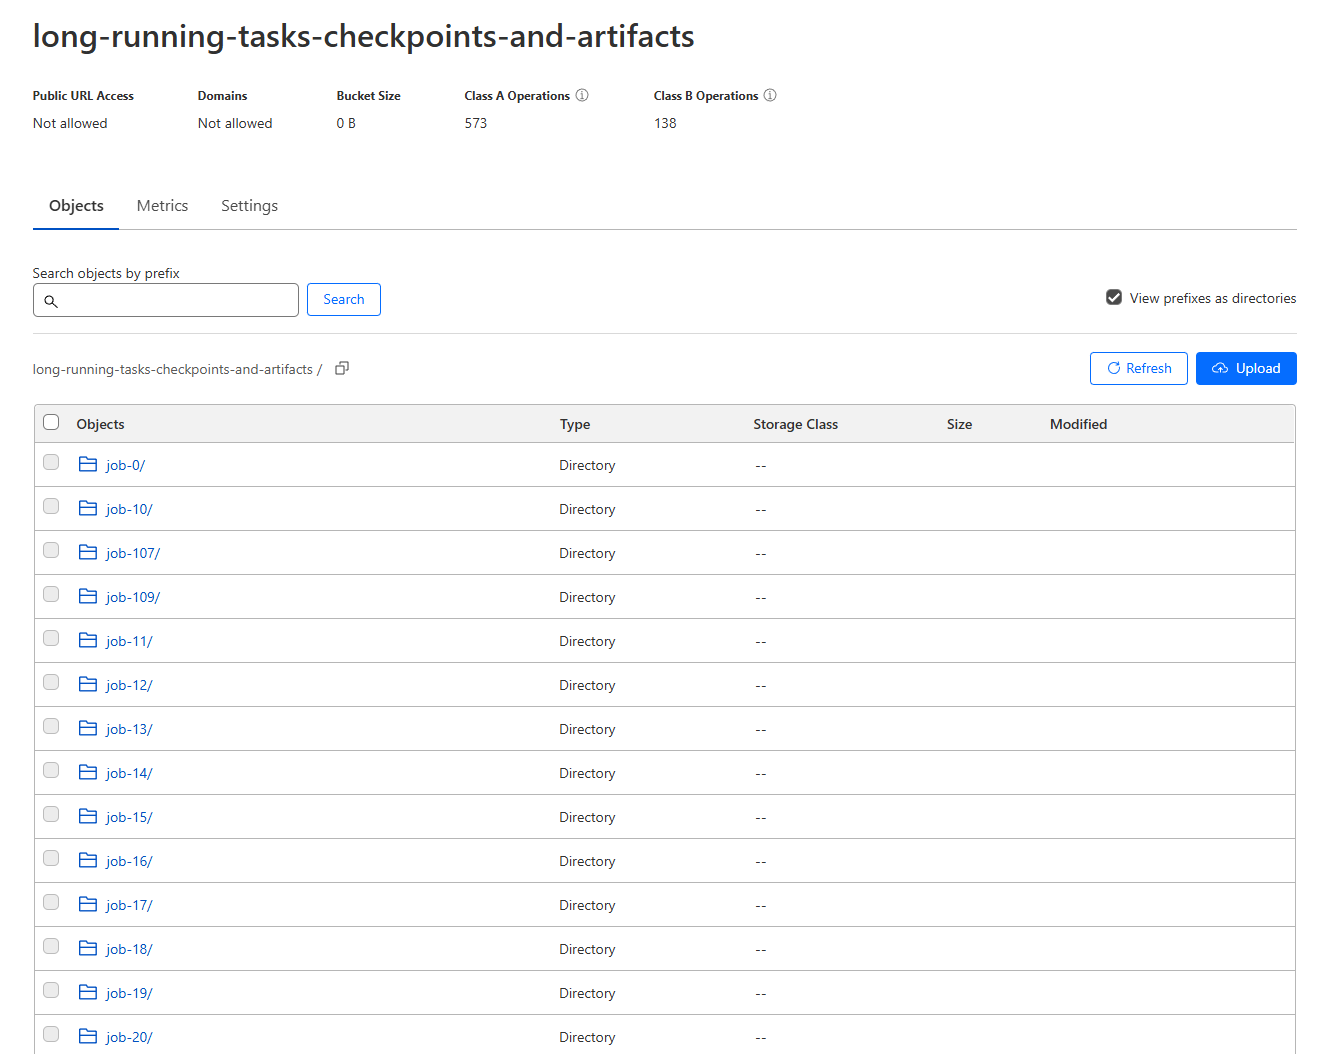
Checkpoints and results in the R2 bucket